You do not need a photographer to get couple photos you would actually frame. You need a window, a way to prop the phone, and ten minutes of not caring how silly the process looks. This guide is the exact setup we recommend, in order, with the settings and the six shots to take.
Step 1: find the light
The biggest window in the house, on a bright but overcast day or in the hour after sunrise. Turn every lamp off so the colour of the light is consistent. Stand so the window is to one side of you, not behind you and not directly in front. Side light gives the face shape; front light flattens it; backlight turns you into a silhouette.
Step 2: prop the phone at chest height
A stack of books on a chair, a small tripod, a phone stand. Chest height is more flattering than the eye-level most people default to. Tilt it up a few degrees. Use the back camera; it is far better than the selfie camera.
Step 3: settings that matter
- Self-timer: 10 seconds, burst or interval mode. iPhone takes a burst of 10; many Android phones have an interval timer. Bursts mean you do not have to nail one frame.
- Portrait mode on for close frames, off for full-body frames (it struggles with edges of hair and dresses).
- Tap your face to set focus and exposure, then drag the exposure slider down slightly. Phones overexpose skin.
- Grid on. Keep the horizon straight and your eyes on the top line.
- Wipe the lens. Every time.
Step 4: the six setups
- Window hug. Stand by the window, one person behind the other, faces toward the light. Eyes closed on the first burst.
- Sofa, feet up. Sit close, legs tangled, look at each other. Shoot from slightly above.
- Kitchen counter. Make coffee or cut fruit. Do not look at the phone; the natural movement is the photo.
- Doorway lean. Both lean on opposite sides of a door frame. One looks at the camera.
- Bed, from above. Lie down head to head, phone propped on a shelf or held by whoever has the longest arm. White sheets.
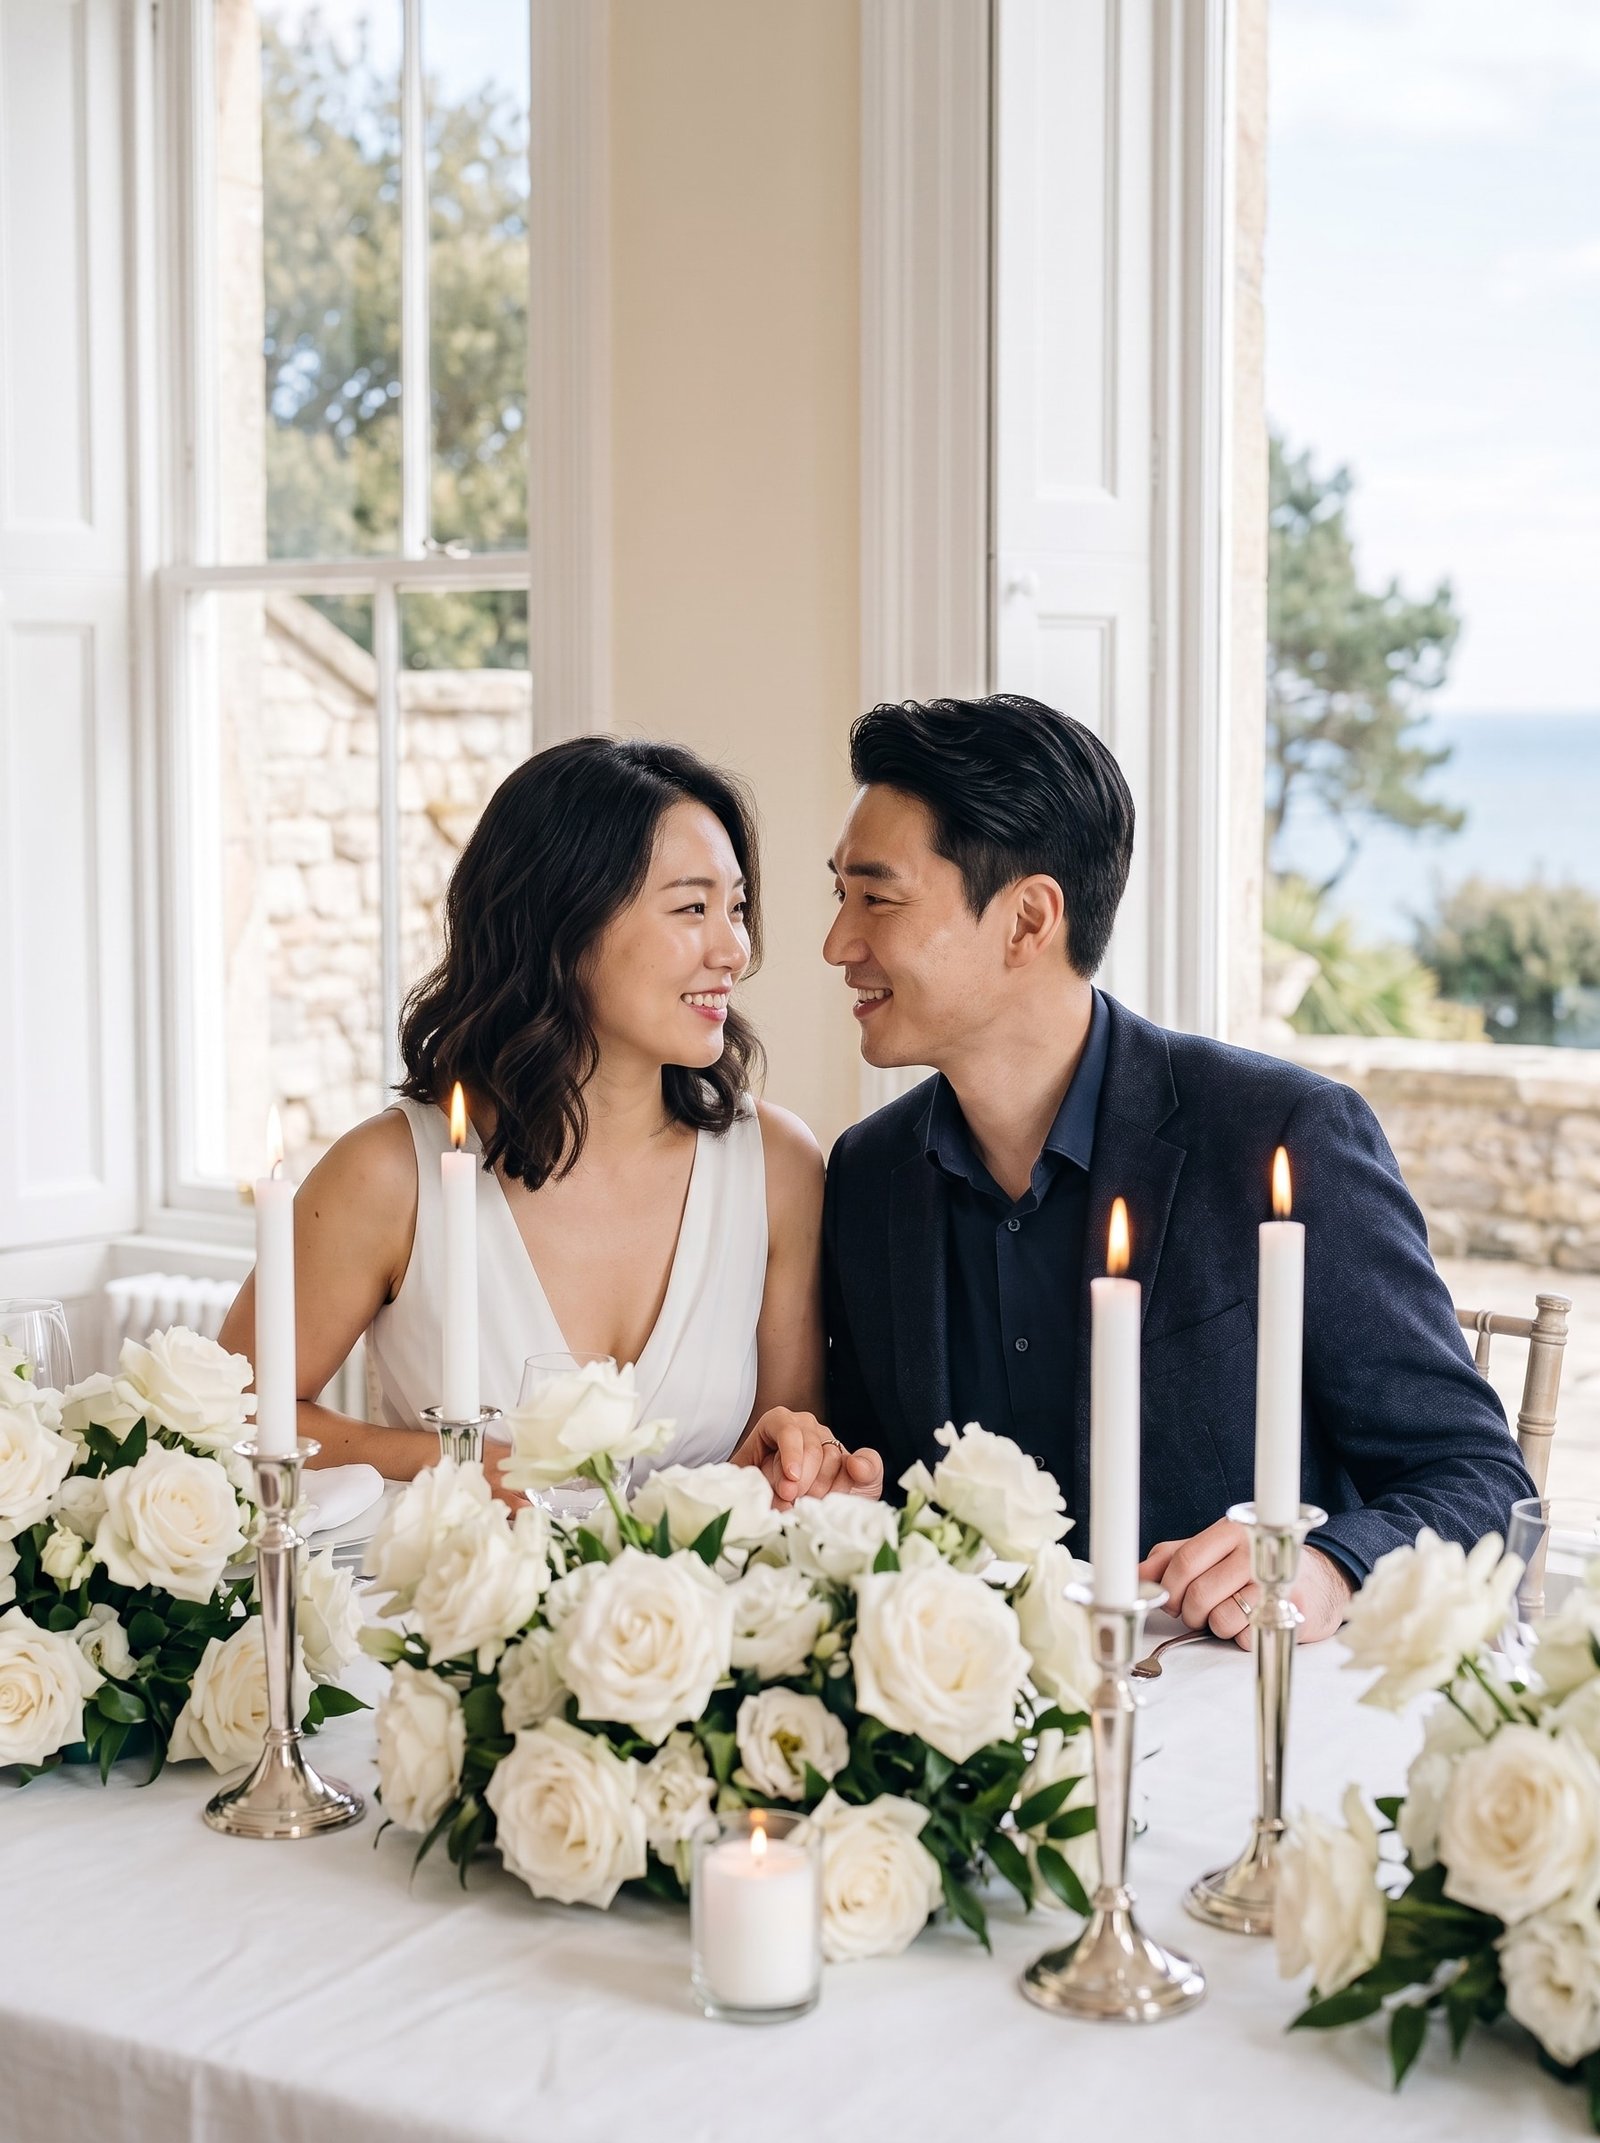
- Candlelit dinner. The one setup that wants evening: candles, lamps off, phone on the table pointed up. Grainy is fine.
Step 5: edit lightly
Straighten, crop to 4:5 for phones and 3:2 for prints, warm the white balance slightly, lower highlights, add a touch of contrast. Skip the skin-smoothing slider; it always looks like a slider. If you want the black-and-white version, do it last and add a little grain.
What at-home photos are good for and what they are not
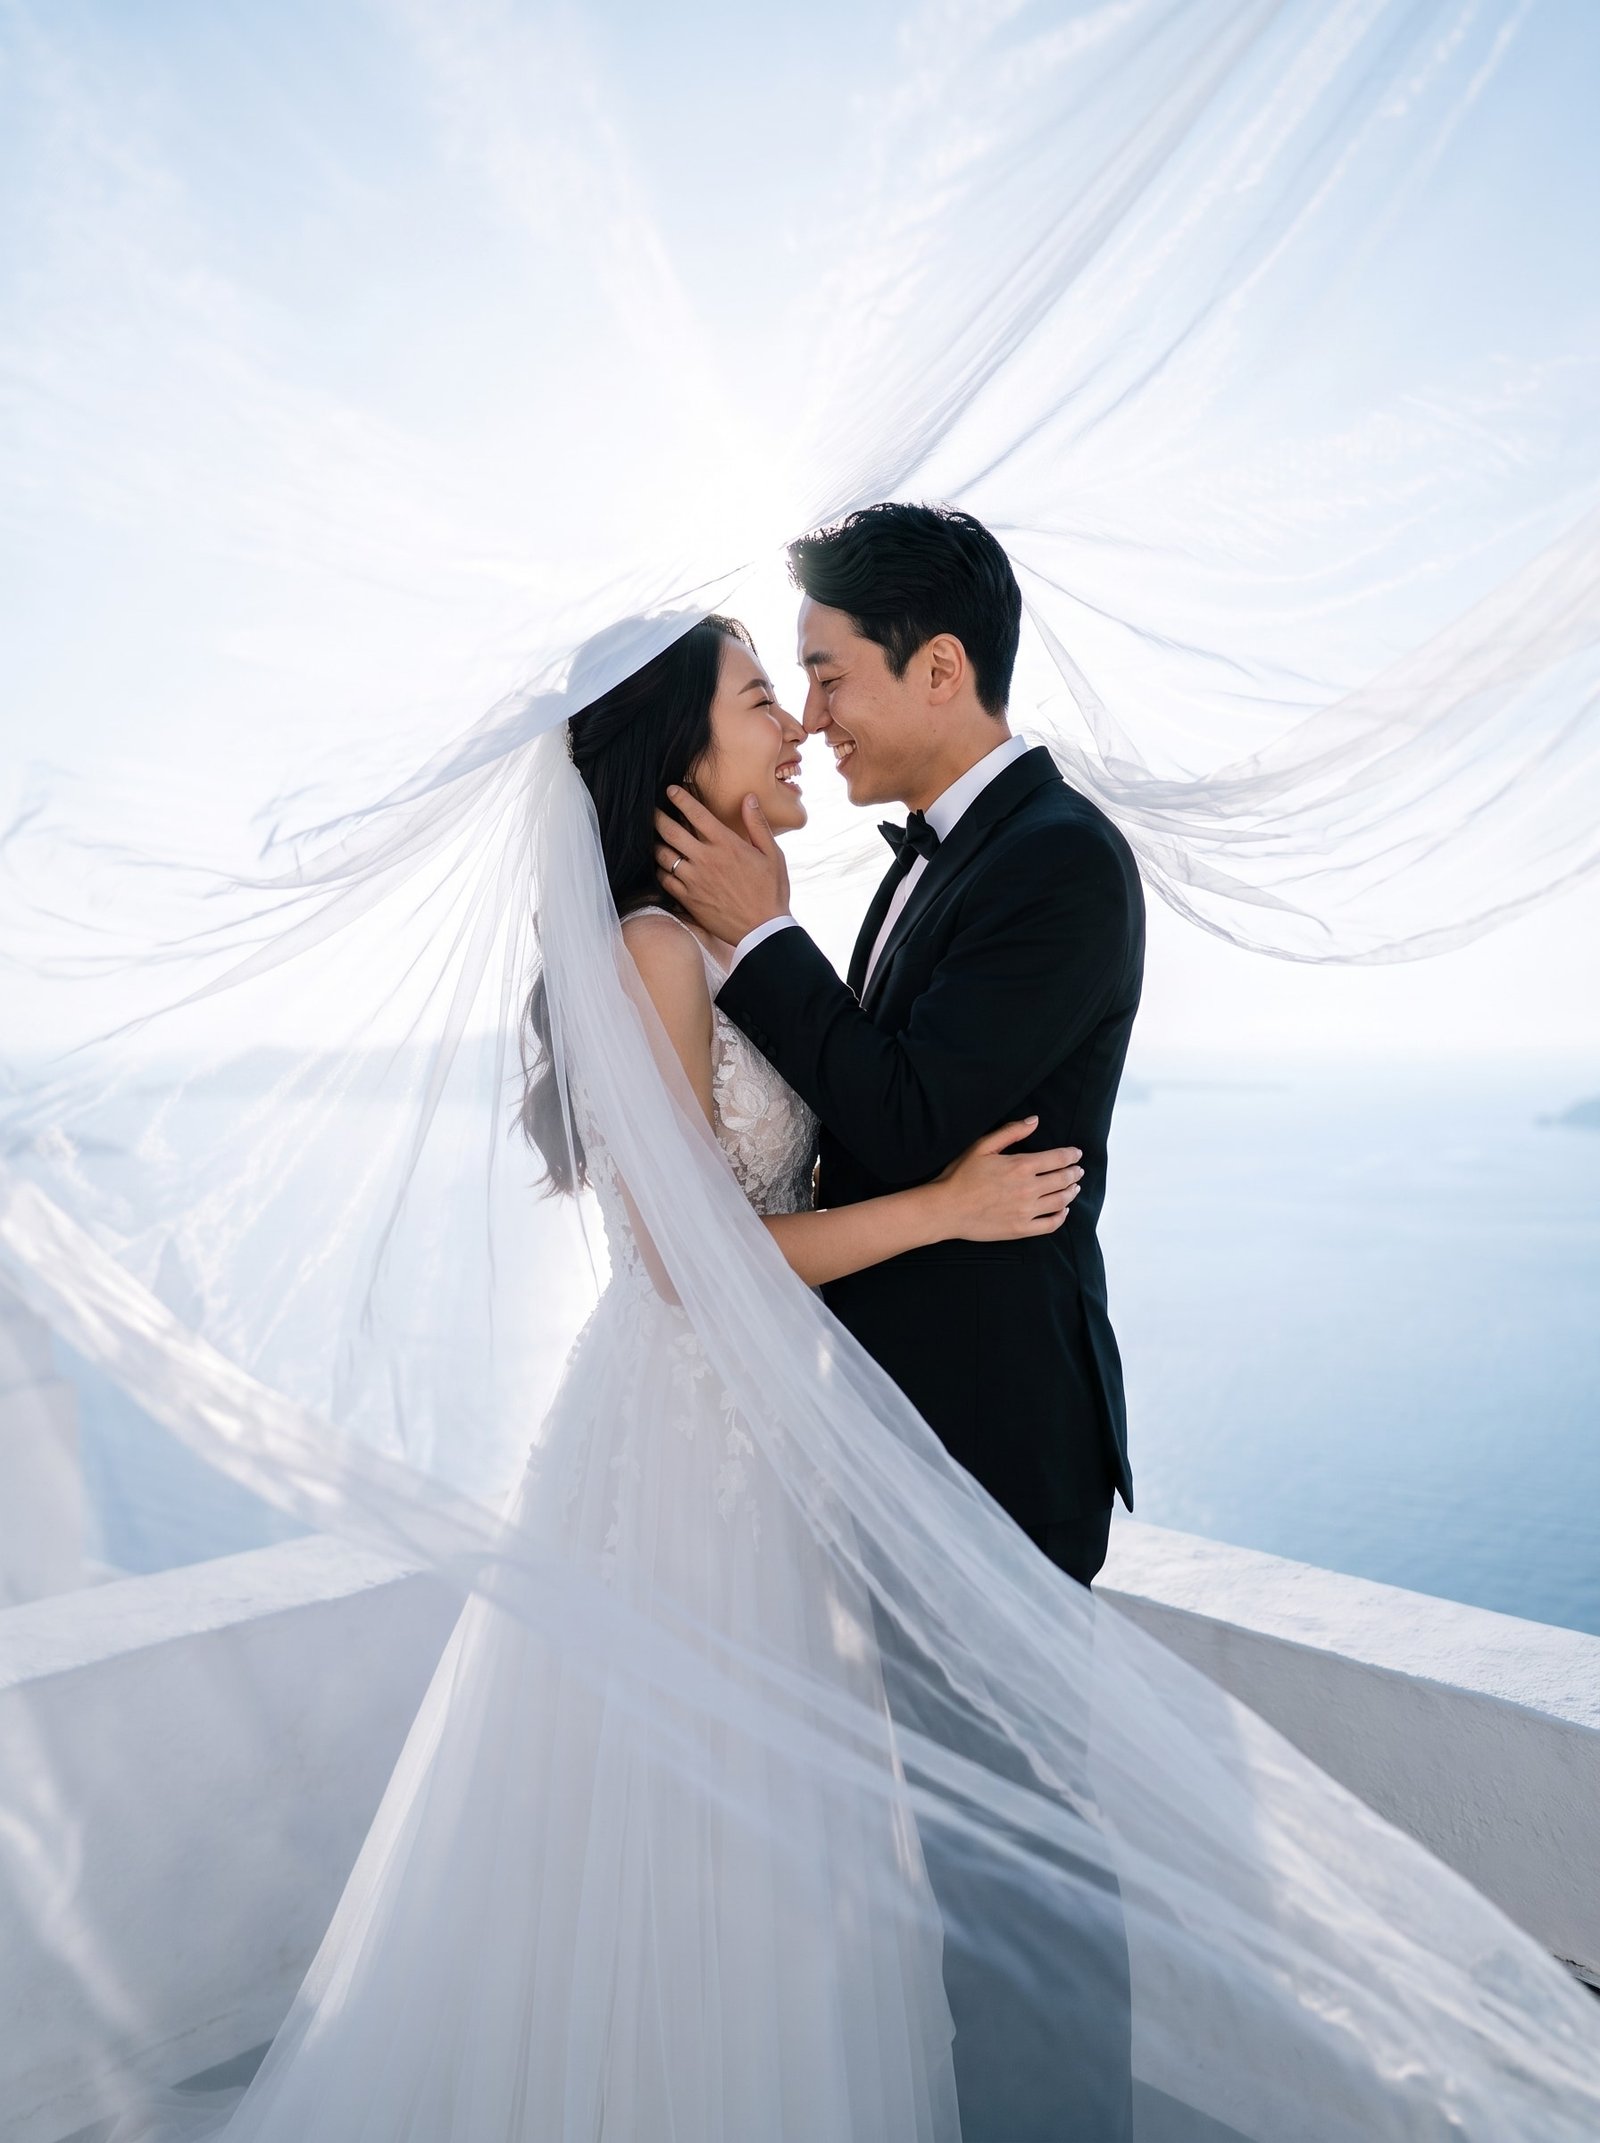
They are perfect for social posts, anniversary cards, the “how we live” section of a slideshow and a frame in the hallway. They are not the invitation photo. For that, most couples want a studio or destination frame with proper light and a real gown, which is exactly what AI wedding photos produce from these same phone selfies. Take the six setups above, then use the sharpest face shots as your upload.
Want photos like these without booking a studio?
TwoShotPro turns a few selfies into studio, outdoor and destination wedding photos in 2 to 10 minutes. Packs start at $29, and the mobile invitation is free.